Starting to exercise can be difficult, so we would like to make it easier with what we think are some great exercises for beginners at home.
Exercising at home has many benefits:
- You don’t need to pay for gym membership
- You can also get familiar with the exercises before you actually hit the gym
- Build up a base strength level
- It’s just super convenient
What’s more, we collected five basic exercises that can be done with little to no equipment at home, standing or laying on the floor.
It doesn’t really get much easier than this, to gently immerse you into the world of fitness, without you having to make a lot of commitments.
Walking
Why it’s great:
You can walk anywhere, anytime. Use a treadmill or hit the streets.
How to: If you’re just starting to walk for fitness, begin with five to 10 minutes at a time. Add a few minutes to each walk until you get to at least 30 minutes per walk. Then, quicken your pace or add hills.
Interval Training
Why it’s great:
Interval training boosts your fitness levels and burns more calories to help you lose weight. The idea is to vary the intensity within your workout, instead of going at a steady pace.
How to: Whether you walk, run, dance, or do another cardio exercise, push up the pace for a minute or two. Then back off for 2 to 4 minutes. How long your interval should last depends on the length of your workout, and how much recovery time you need. A trainer can fine-tune the pacing. Repeat the intervals throughout your workout.
Push Ups
Why it’s great:
Push-ups strengthen your chest, shoulders, triceps, and core muscles.
How to: Facing down, place your hands slightly wider than shoulder-width apart. Place your toes on the floor. If that’s too hard, start with your knees on the floor. Your body should make a straight line from shoulders to knees or feet. Keep your rear-end muscles and abs engaged. Bend your elbows to lower down until you almost touch the floor. Lift back up by pushing through your elbows, and keep your torso in a straight line throughout the move.
If you’re new to push-ups you can start doing them by leaning into a kitchen counter. As you get stronger, go lower, using a desk or chair. Then you can move onto the floor, starting with your knees bent. For a challenge, put your feet on a stair, bench, or couch while keeping good form.
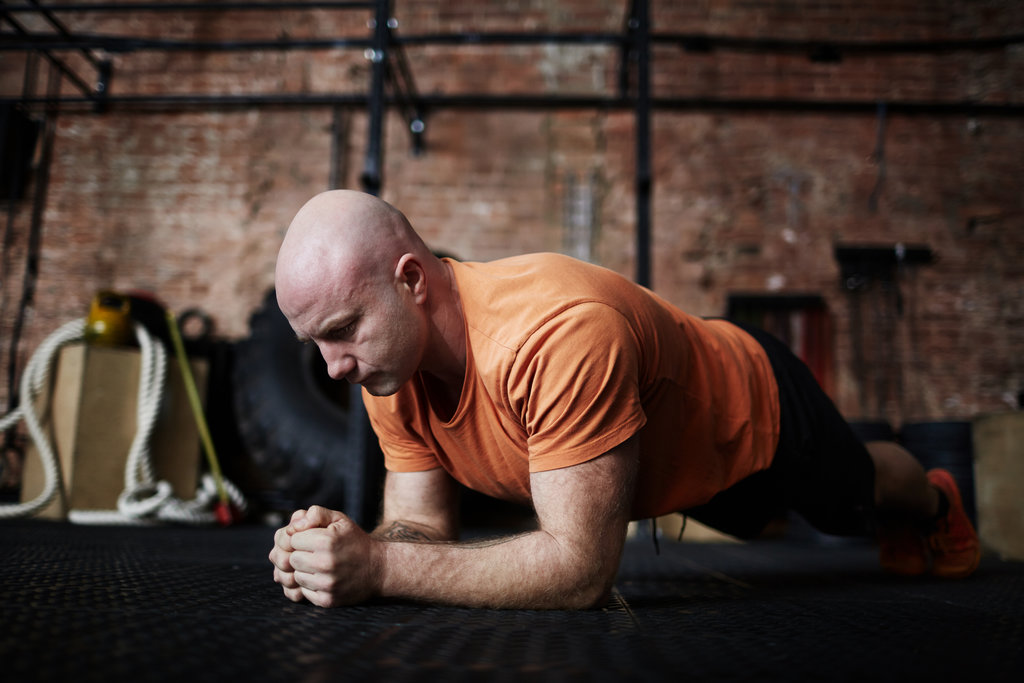
Planks
Why it’s great:
The plank is one of the simplest exercises that you can do – it’s simple in its appearance and the amount of steps involved in doing one.
Getting into plank pose can be easy. Holding a plank can even be easy, for a few seconds, but since the plank is an exercise position that can be held indefinitely, its difficulty can range from easy, short-term planks to excruciating tests of endurance.
How to: To do a high plank, also known as a front plank, the most common variety, simply arrange yourself as if you were doing a push-up. Rise to the top of this position, making sure your back is completely straight, and hold the position here.
- Make sure your elbows are directly under your shoulders.
- Line your wrists up with your elbows.
- Push your body upwards, and keep your chin tight(ish) to your neck.
A recommended time for beginners is 30 seconds, but if you can’t do that, you can consider anything less to be good practice – or switch to a forearm plank, where you rest your weight on your forearms instead of your palms, allowing you to hold the position for much longer.
Kettlebells
Why it’s great:
Kettlebells are a super versatile piece of equipment. Just one weight, so many moves.
They can replicate most of the exercises you would perform with dumbbells and also bring an element of momentum and functional training to your workouts, providing hundreds more variations without taking up much space.
How to: To get started, invest in a 12-16kg kettlebell. The bell refers to the heavy sphere at the bottom. The handle (the loop attached to the bell) can be gripped at the top, or on the sides, which are called the horns. Holding a kettlebell in a racked position means you’ll hold the top of the handle and allow the bell to rest on the outside of your forearm, with your hand held at shoulder height. If you’re new to kettlebells, experiment with the different grips: Hold the kettlebell in a racked position, hold it by the horns using both hands, or carry it using the handle with your arm at your side.
Check out this article for lots of kettlebell workouts to get you started.
Have fun experimenting with different types of exercise at home, and enjoy your fitness journey!